FAQs for the admin UI
Look and feel
Customize the menu or sidebar
During installation, Backpack publishes a few files in you resources/views/vendor/backpack/base/inc folder. In there, you'll also find:
sidebar_content.phptopbar_left_content.phptopbar_right_content.php
Change those files as you please.
Customize the dashboard
The dashboard is shown from Backpack\Base\app\Http\Controller\AdminController.php::dashboard(). If you take a look at that method, you'll see that the only thing it does is to set a title, breadcrumbs, and return a view: backpack::dashboard.
In order to place something else inside that view, like widgets, simply publish that view in your project, and Backpack will pick it up, instead of the one in the package. Create a resources/views/vendor/backpack/base/dashboard.blade.php file:
@extends(backpack_view('blank'))

@php
    $widgets['before_content'][] = [
        'type'        => 'jumbotron',
        'heading'     => trans('backpack::base.welcome'),
        'content'     => trans('backpack::base.use_sidebar'),
        'button_link' => backpack_url('logout'),
        'button_text' => trans('backpack::base.logout'),
    ];
@endphp

@section('content')
  <p>Your custom HTML can live here</p>
@endsection
To use information from the database, you can:
- use view composers to push variables inside this view, when it's loaded;
- load all your dashboard information using AJAX calls, if you're loading charts, reports, etc, and the DB queries might take a long time;
- use the full namespace for your models, like
\App\Models\Product::count();
Take a look at the widgets we have - you can easily use those in your dashboard. You can also add whatever HTML you want inside the content block - check the Backstrap HTML Template for design components you can copy-paste to speed up your custom HTML.
Customizing the design of the menu / sidebar / footer
In config/backpack/base.php you'll notice there are variables where you can change exactly what CSS classes are placed on the HTML elements that represent the header, body, sidebar and footer:
    // Horizontal navbar classes. Helps make the admin panel look similar to your project's design.
    'header_class' => 'app-header bg-light border-0 navbar',
        // Try adding bg-dark, bg-primary, bg-secondary, bg-danger, bg-warning, bg-success, bg-info, bg-blue, bg-light-blue, bg-indigo, bg-purple, bg-pink, bg-red, bg-orange, bg-yellow, bg-green, bg-teal, bg-cyan
        // You might need to add "navbar-dark" too if the background color is a dark one.
        // Add header-fixed if you want the header menu to be sticky

    // Body element classes.
    'body_class' => 'app aside-menu-fixed sidebar-lg-show',
        // Try sidebar-hidden, sidebar-fixed, sidebar-compact, sidebar-lg-show


    // Sidebar element classes.
    'sidebar_class' => 'sidebar sidebar-pills bg-light',
        // Remove "sidebar-transparent" for standard sidebar look
        // Try "sidebar-light" or "sidebar-dark" for dark/light links
        // You can also add a background class like bg-dark, bg-primary, bg-secondary, bg-danger, bg-warning, bg-success, bg-info, bg-blue, bg-light-blue, bg-indigo, bg-purple, bg-pink, bg-red, bg-orange, bg-yellow, bg-green, bg-teal, bg-cyan

    // Footer element classes.
    'footer_class' => 'app-footer',
Our default design might not be pleasant for your, or you might need to make the UI integrate better into your project. We totally understand. You can use the classes above to make it look considerably different.
You'll find a few examples below - but you should use which classes you want to get the result you need.
Backstrap
Transparent top menu, transparent sidebar, transparent footer. This is the default. This is what we think is best for most users, from our 8+ years of experience building admin panels. Prioritising content over menus.
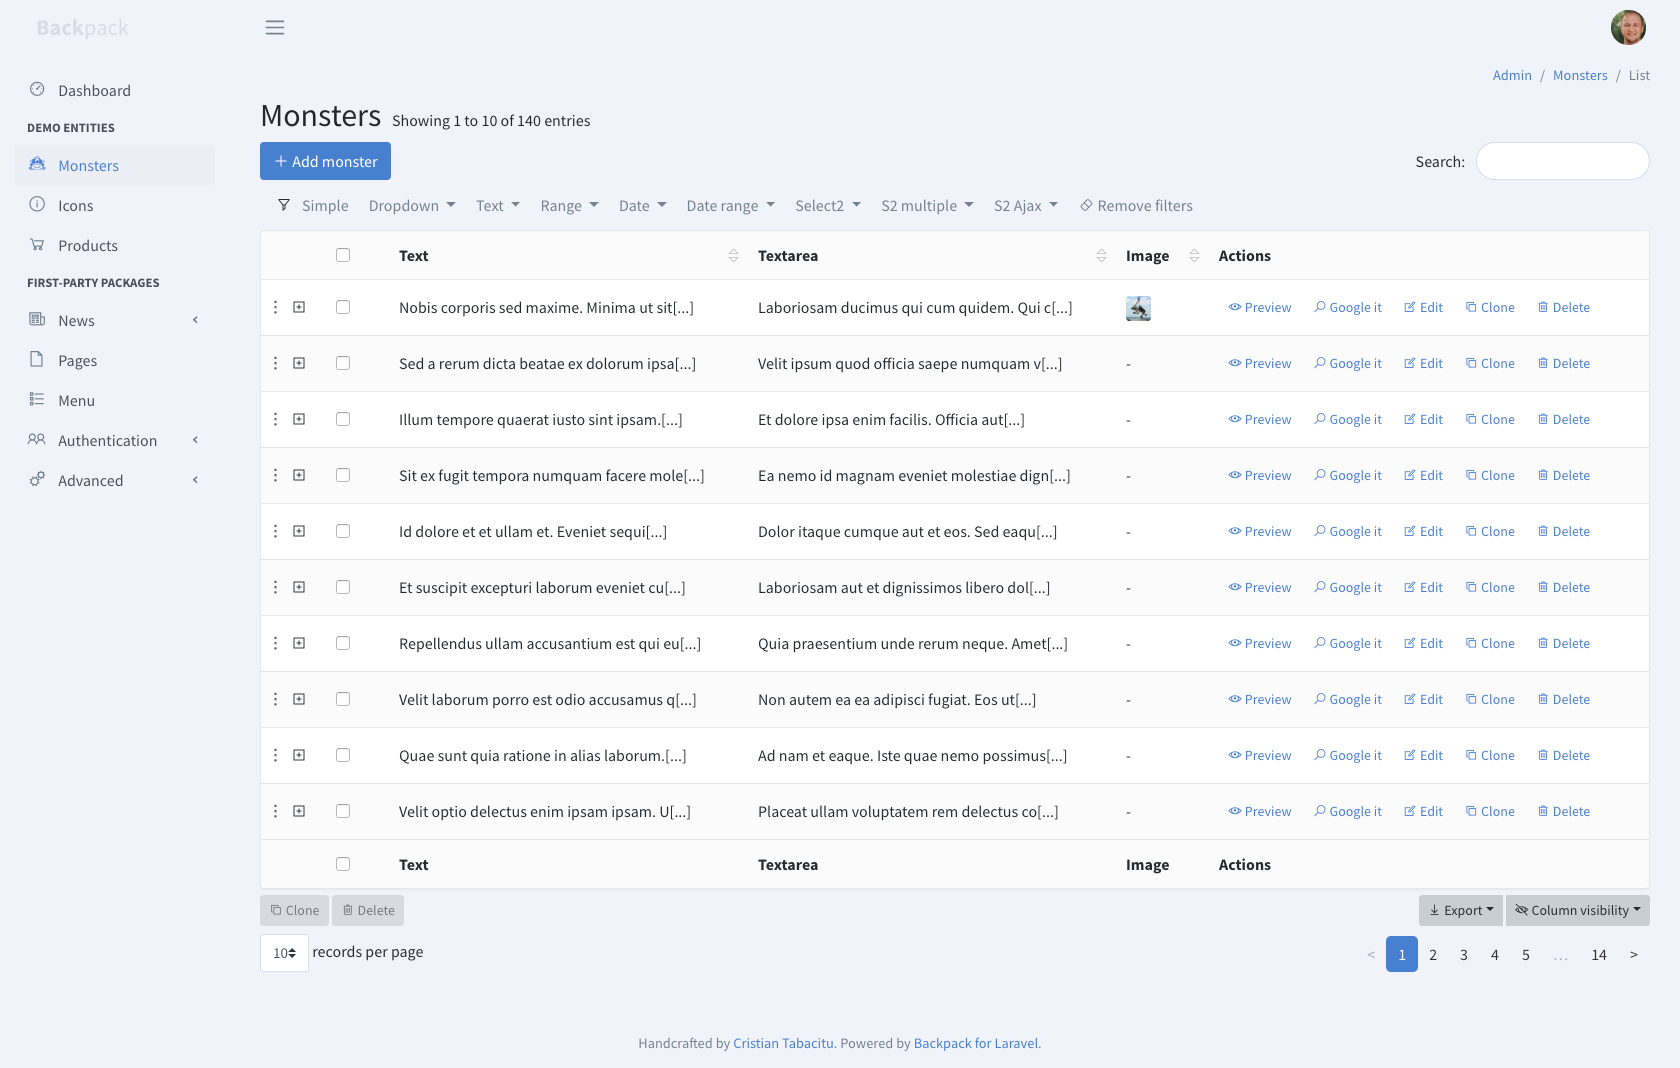
    'header_class' => 'app-header bg-light border-0 navbar',
    'body_class' => 'app aside-menu-fixed sidebar-lg-show',
    'sidebar_class' => 'sidebar sidebar-pills bg-light',
    'footer_class' => 'app-footer',
Inspired by CoreUI
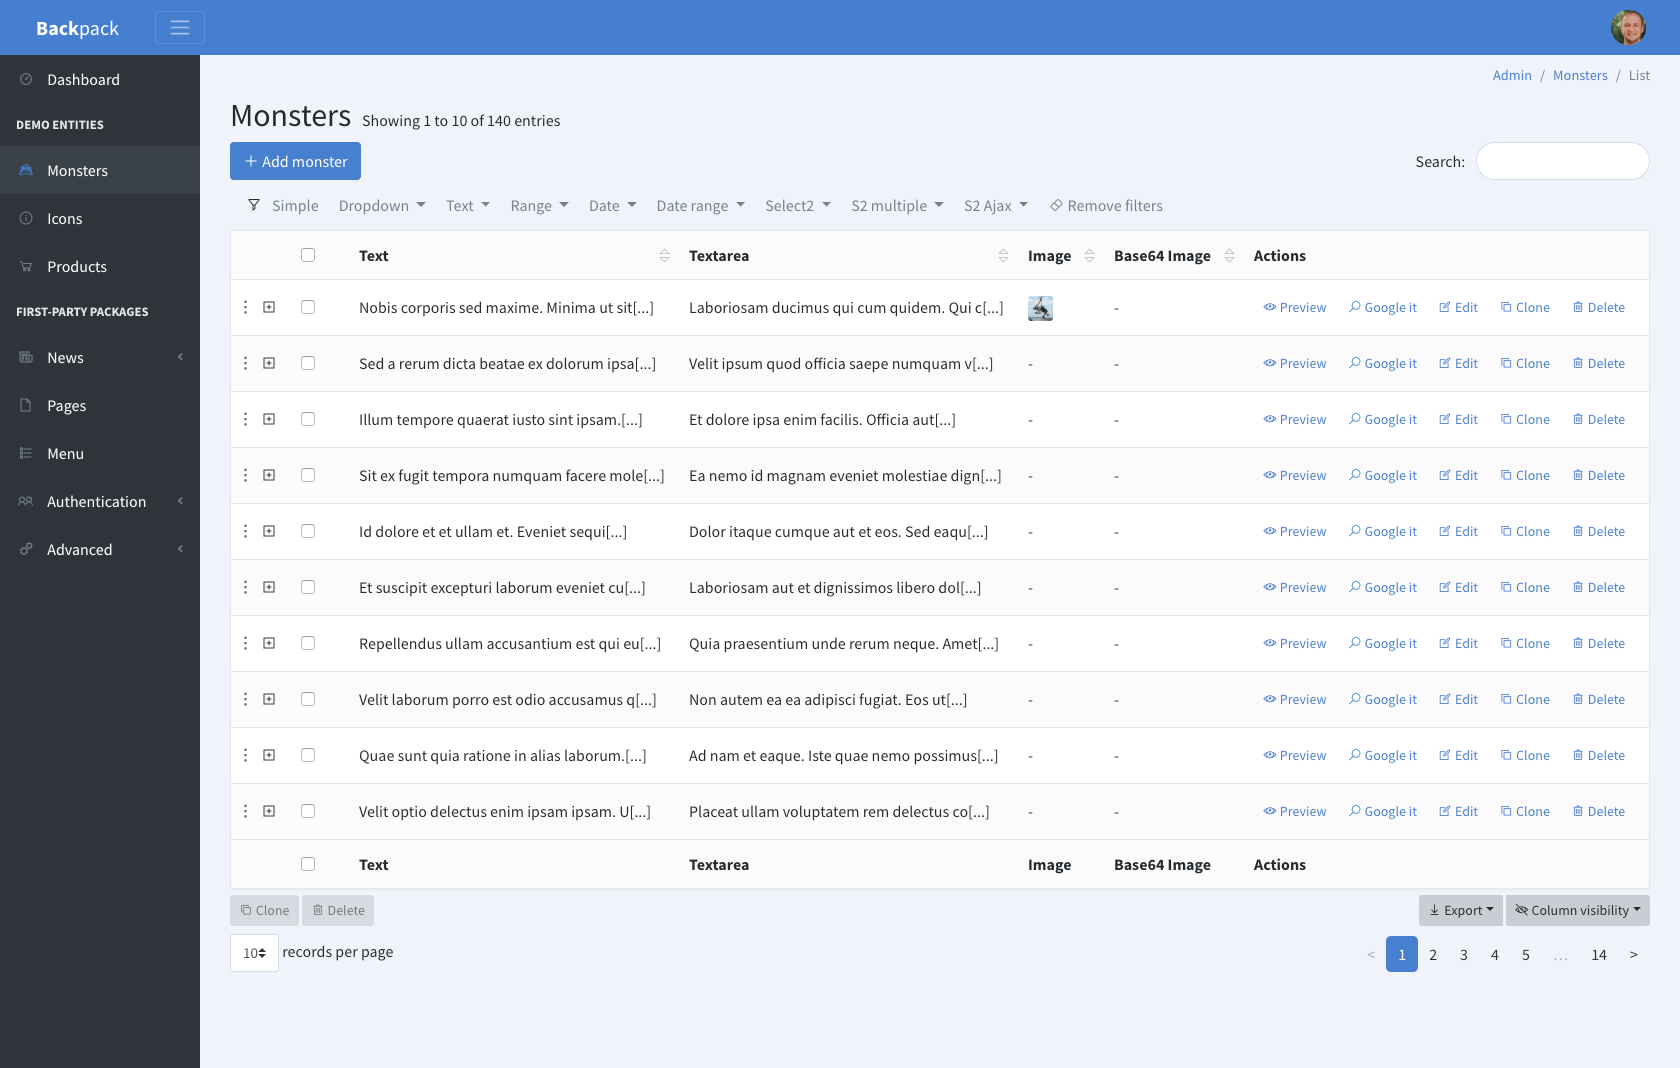
White top menu, dark sidebar.

    'header_class' => 'app-header navbar',
    'body_class' => 'app aside-menu-fixed sidebar-lg-show',
    'sidebar_class' => 'sidebar',
    'footer_class' => 'app-footer d-none',
Inspired by GitHub
Black top menu, white sidebar.

    'header_class' => 'app-header bg-dark navbar',
    'body_class' => 'app aside-menu-fixed sidebar-lg-show',
    'sidebar_class' => 'sidebar bg-white sidebar-pills',
    'footer_class' => 'app-footer d-none',
Blue Top Menu
Blue top menu, dark sidebar.
    'header_class' => 'app-header navbar navbar-color bg-primary border-0',
    'body_class' => 'app aside-menu-fixed sidebar-lg-show',
    'sidebar_class' => 'sidebar', // add "bg-white sidebar-pills" for light sidebar
    'footer_class' => 'app-footer d-none',
Construction / Warning
Yellow top menu, dark sidebar.
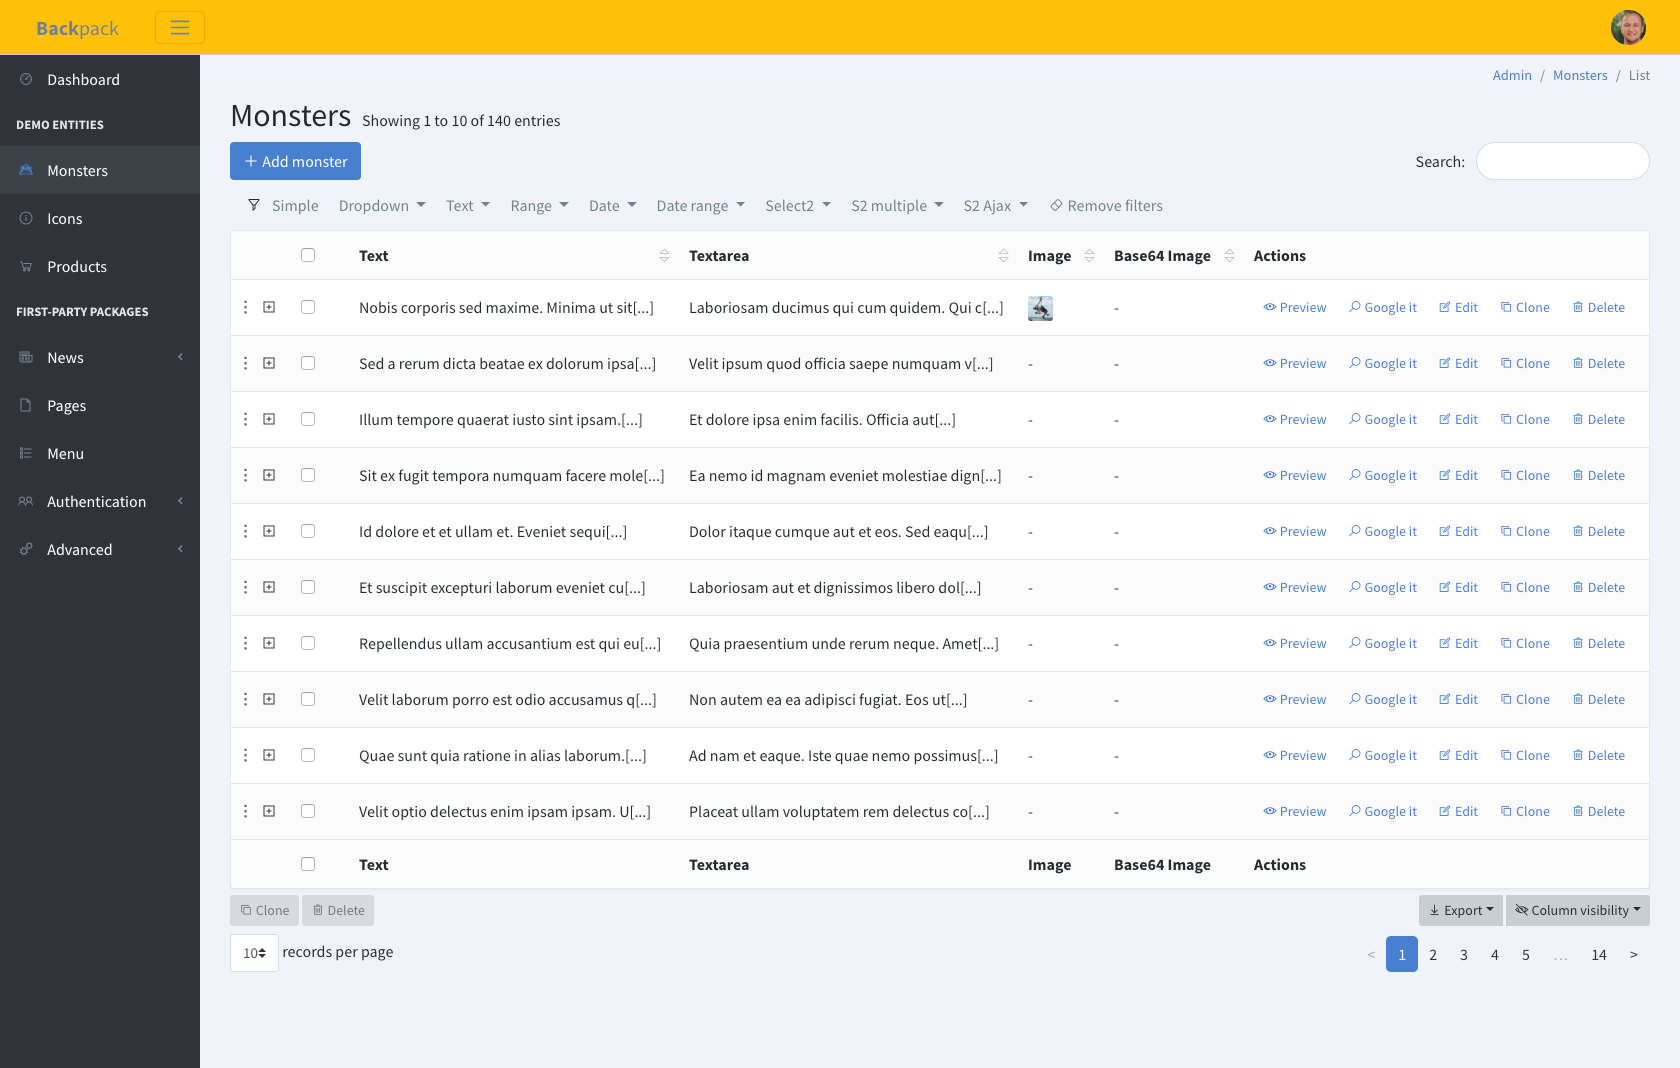
    'header_class' => 'app-header navbar navbar-light bg-warning',
    'body_class' => 'app aside-menu-fixed sidebar-lg-show',
    'sidebar_class' => 'sidebar', // add "bg-white sidebar-pills" for light sidebar
    'footer_class' => 'app-footer d-none',
Red Top Menu
Red top menu, dark sidebar.
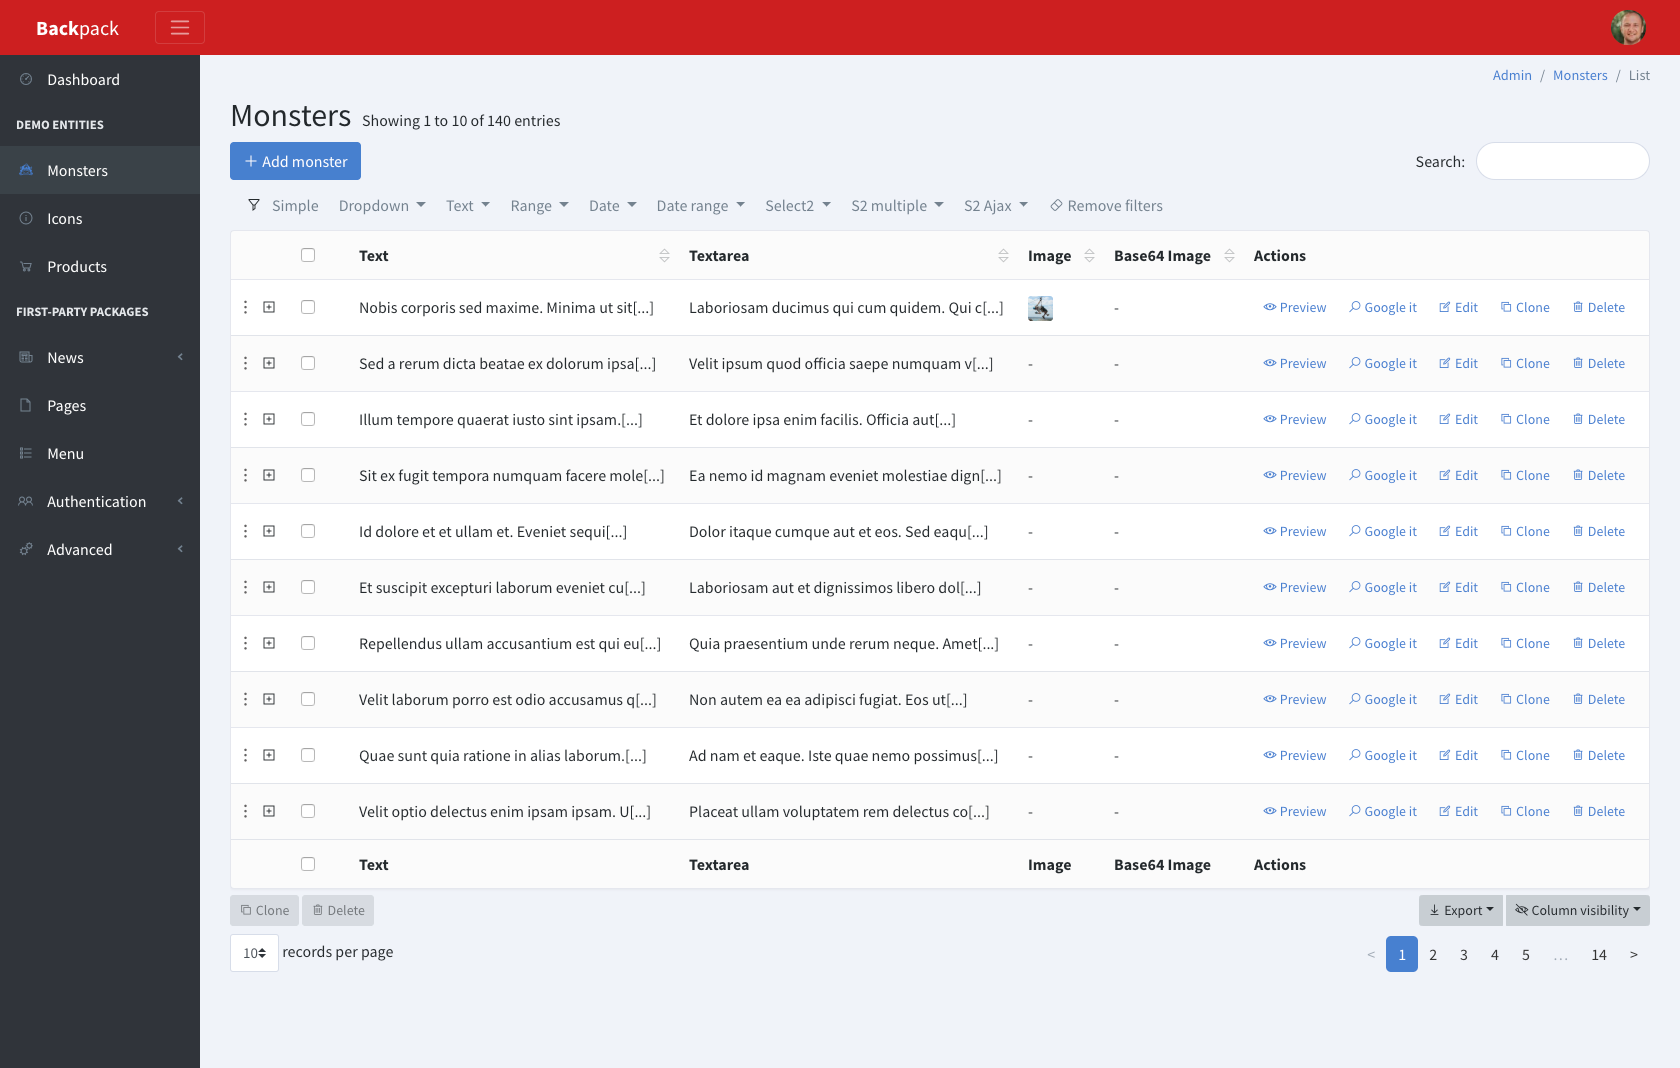
    'header_class' => 'app-header navbar navbar-color bg-error border-0',
    'body_class' => 'app aside-menu-fixed sidebar-lg-show',
    'sidebar_class' => 'sidebar', // add "bg-white sidebar-pills" for light sidebar
    'footer_class' => 'app-footer d-none',
Pink Top Menu
Pink top menu, transparent sidebar.
    'header_class' => 'app-header navbar navbar-color bg-error border-0',
    'body_class' => 'app aside-menu-fixed sidebar-lg-show',
    'sidebar_class' => 'sidebar sidebar-pills bg-light',
    'footer_class' => 'app-footer d-none',
Green Top Menu
Green top menu, white sidebar.
    'header_class' => 'app-header navbar navbar-color bg-green border-0',
    'body_class' => 'app aside-menu-fixed sidebar-lg-show',
    'sidebar_class' => 'sidebar sidebar-pills bg-white',
    'footer_class' => 'app-footer d-none',
Change the colors
Change primary color from purple to blue
We thought you might want to do this. Purple isn't for everybody. That's why Backpack 4.1.57+ comes with two bundle CSS files: bundle.css and blue-bundle.css. That second file does exactly what you expect - changes the primary color from electric purple to blue. That's it. In order to use it, go to your config/backpack/base.php and use that file instead:
'styles' => [
-        'packages/backpack/base/css/bundle.css',
+        'packages/backpack/base/css/blue-bundle.css',
That's it. Now go to your browser and refresh, you should see blue buttons and text everywhere, instead of purple.
Custom colors for primary, secondary, success, warning etc.
This assumes you have:
- Backpack 4.1.57+ (check with
php artisan backpack:version) and its assets published (otherwise runphp artisan vendor:publish --provider="Backpack\CRUD\BackpackServiceProvider" --tag=public --force); - a working Laravel install with NPM and Laravel Mix;
Add Backstrap, Noty and Animate.css as dev-dependencies to your project:
npm install --dev
npm i @digitallyhappy/backstrap --save-dev
npm i noty --save-dev
npm i [email protected] --save-dev
Then create a SCSS file for that custom bundle you want. We recommend doing it in resources/scss/custom-backpack-bundle.scss. Then customize this file to your liking:
// create a bundle CSS file for the an alternative Backstrap style (blue instead of purple for primary color)

@import "node_modules/@digitallyhappy/backstrap/src/scss/_backstrap_colors";

$primary:       $black !default; // <--- For eg. This will make all buttons and texts black instead of purple
$secondary:     $gray-300 !default;
$success:       $green !default;
$info:          $blue !default;
$warning:       $yellow !default;
$danger:        $red !default;
$light:         $gray-200 !default;
$dark:          $black !default;

$hover-color: rgba(105, 171, 239, 0.12);
$border-color: rgba(0, 40, 100, 0.12);
$muted-bg-color: rgba(0, 0, 0, 0.02);

$theme-colors: () !default;
$theme-colors: map-merge(
  (
    "primary":    $primary,
    "default":    $secondary,
    "secondary":  $secondary,
    "success":    $success,
    "info":       $info,
    "notice":     $info,
    "warning":    $warning,
    "danger":     $danger,
    "error":      $danger,
    "light":      $light,
    "dark":       $dark
  ),
  $theme-colors
);

@import "node_modules/@digitallyhappy/backstrap/src/scss/_backstrap_miscellaneous";

@import "node_modules/@coreui/coreui/scss/coreui";
@import "node_modules/@digitallyhappy/backstrap/src/scss/_custom";
@import "node_modules/@digitallyhappy/backstrap/src/scss/_noty";
@import "node_modules/animate.css/source/_base";
@import "node_modules/noty/src/noty";
Now add the command to your webpack.mix.js file to compile this new SASS file:
// create a custom Backpack bundle CSS, with custom colors
mix.sass('resources/scss/custom-backpack-bundle.scss', 'public/css/')
    .options({
      processCssUrls: false
    });
And run npm run dev. If SASS is not a dev-requirement in your project already, Mix will add it automatically and ask you to run npm run dev again. Do that if necessary.
Your result should say "webpack compiled successfully". If so, you can now use that new bundle file in all your Backpack pages by going to config/backpack/base.php and changing the main bundle CSS file that Backpack uses... with your own:
    'styles' => [
-        'packages/backpack/base/css/bundle.css',
+        'css/custom-backpack-bundle.css',
Create a new theme / child theme
You can create a theme with your own HTML. Create a folder with all the views you want to overwrite, then change view_namespace inside your config/backpack/base.php to point to that folder. All views will be loaded from that folder if they exist, then from resources/views/vendor/backpack/base, then from the Base package.
You can use child themes to:
- create packages for your Backpack admin panels to look different (and re-use across projects)
- use a different CSS framework (ex: Tailwind, Bulma)
Add custom JavaScript to all admin panel pages
In config/backpack/base.php you'll notice this config option:
    // JS files that are loaded in all pages, using Laravel's asset() helper
    'scripts' => [
        // Backstrap includes jQuery, Bootstrap, CoreUI, Noty, Popper
        'packages/backpack/base/js/bundle.js?v='.\PackageVersions\Versions::getVersion('backpack/base'),

        // examples (everything inside the bundle, loaded from CDN)
        // 'https://code.jquery.com/jquery-3.4.1.min.js',
        // 'https://cdnjs.cloudflare.com/ajax/libs/popper.js/1.14.7/umd/popper.min.js',
        // 'https://stackpath.bootstrapcdn.com/bootstrap/4.3.1/js/bootstrap.min.js',
        // 'https://unpkg.com/@coreui/coreui/dist/js/coreui.min.js',
        // 'https://cdnjs.cloudflare.com/ajax/libs/pace/1.0.2/pace.min.js',
        // 'https://unpkg.com/sweetalert/dist/sweetalert.min.js',
        // 'https://cdnjs.cloudflare.com/ajax/libs/noty/3.1.4/noty.min.js'

        // examples (VueJS or React)
        // 'https://unpkg.com/[email protected]/dist/vue.min.js',
        // 'https://unpkg.com/react@16/umd/react.production.min.js',
        // 'https://unpkg.com/react-dom@16/umd/react-dom.production.min.js',
    ],
You can add files to this array, and they'll be loaded in all admin panels pages.
Add custom CSS to all admin panel pages
In config/backpack/base.php you'll notice this config option:
    // CSS files that are loaded in all pages, using Laravel's asset() helper
    'styles' => [
        'packages/@digitallyhappy/backstrap/css/style.min.css',

        // Examples (the fonts above, loaded from CDN instead)
        // 'https://maxcdn.icons8.com/fonts/line-awesome/1.1/css/line-awesome-font-awesome.min.css',
        // 'https://fonts.googleapis.com/css?family=Source+Sans+Pro:300,400,600,700,300italic,400italic,600italic',
    ],
You can add files to this array, and they'll be loaded in all admin panels pages.
Customize the look and feel of the admin panel (using CSS)
If you want to change the look and feel of the admin panel, you can create a custom CSS file wherever you want. We recommend you do it inside public/packages/myname/mycustomthemename/css/style.css folder so that it's easier to turn into a theme, if you decide later to share or re-use your CSS in other projects.
In config/backpack/base.php add your file to this config option:
    // CSS files that are loaded in all pages, using Laravel's asset() helper
    'styles' => [
        'packages/@digitallyhappy/backstrap/css/style.min.css',
         // ...
        'packages/myname/mycustomthemename/css/style.css',
    ],
This config option allows you to add CSS files that add style on top of Backstrap, to make it look different. You can create a CSS file anywhere inside your public folder, and add it here.
How to add VueJS to all Backpack pages
You can add any script you want inside all Backpack's pages by just adding it in your config/backpack/base.php file:
    // JS files that are loaded in all pages, using Laravel's asset() helper
    'scripts' => [
        // Backstrap includes jQuery, Bootstrap, CoreUI, Noty, Popper
        'packages/backpack/base/js/bundle.js',

        // examples (everything inside the bundle, loaded from CDN)
        // 'https://code.jquery.com/jquery-3.4.1.min.js',
        // 'https://cdnjs.cloudflare.com/ajax/libs/popper.js/1.14.7/umd/popper.min.js',
        // 'https://stackpath.bootstrapcdn.com/bootstrap/4.3.1/js/bootstrap.min.js',
        // 'https://unpkg.com/@coreui/coreui/dist/js/coreui.min.js',
        // 'https://cdnjs.cloudflare.com/ajax/libs/pace/1.0.2/pace.min.js',
        // 'https://unpkg.com/sweetalert/dist/sweetalert.min.js',
        // 'https://cdnjs.cloudflare.com/ajax/libs/noty/3.1.4/noty.min.js'

        // examples (VueJS or React)
        // 'https://unpkg.com/[email protected]/dist/vue.min.js',
        // 'https://unpkg.com/react@16/umd/react.production.min.js',
        // 'https://unpkg.com/react-dom@16/umd/react-dom.production.min.js',
    ],
You should be able to load Vue.JS by just uncommenting that one line. Or providing a link to a locally stored VueJS file.
Customize the translated strings (aka overwrite the language files)
Backpack uses Laravel translations across the admin panel, to easily translate strings (ex: {{ trans('backpack::base.already_have_an_account') }}). If you don't like a translation, you're welcome to submit a PR to correct it for all users of your language. If you only want to correct it inside your app, or need to add a new translation string, you can create a new file in your resources/lang/vendor/backpack/en/base.php (similarly, crud.php or any other file). Any language strings that are inside your app, in the right folder, will be preferred over the ones in the package.
Alternatively, if you need to customize A LOT of strings, you can use:
php artisan vendor:publish --provider="Backpack\CRUD\BackpackServiceProvider" --tag="lang"which will publish ALL lang files, for ALL languages, inside resources/lang/vendor/backpack. But it's highly unlikely you need to modify all of them. In case you do publish all languages, please delete the ones you didn't change. That way, you only keep what's custom in your custom files, and it'll be easier to upgrade those files in the future.
Use the HTML & CSS for the front-end (Backstrap for front-facing website)
If you like how Backpack looks and feels you can use the same interface to power your front-end, simply by making sure your blade view extend Backpack's layout file, instead of a layout file you'd create. Make sure your blade views extend backpack_view('blank') or create a layout file similar to our layouts/top_left.blade.php that better fits your needs. Then use it across your app:
@extends(backpack_view('blank'))

<div>Something</div>
It's a good idea to go through our main layout file - layouts/top_left.blade.php - to understand how it works and how you can use it to your advantage. Most notably, you can:
- use our
before_stylesandafter_stylessections to easily include CSS there -@section('after_styles'); - use our
before_stylesandafter_stylesstacks to easily push CSS there -@push('after_styles'); - use our
before_scriptsandafter_scriptssections to easily include JS there -@section('after_scripts'); - use our
before_scriptsandafter_scriptsstacks to easily push JS there -@push('after_scripts');
Authentication
Customizing the Auth controllers
In config/backpack/base.php you'll find these configuration options:
    // Set this to false if you would like to use your own AuthController and PasswordController
    // (you then need to setup your auth routes manually in your routes.php file)
    'setup_auth_routes' => true,
You can change both setup_auth_routes to false. This means Backpack\Base won't register the Auth routes any more, so you'll have to manually register them in your route file, to point to the Auth controllers you want. If you're going to use the Auth controllers that Laravel generates, these are the routes you can use:
Route::group(['middleware' => 'web', 'prefix' => config('backpack.base.route_prefix')], function () {
    Route::auth();
    Route::get('logout', 'Auth\LoginController@logout');
});
Customize the routes
Custom routes - option 1
You can place a new routes file in your app/routes/backpack/base.php. If a file is present there, no default Backpack\Base routes will be loaded, only what's present in that file. You can use the routes file vendor/backpack/base/src/resources/views/base.php as an example, and customize whatever you want.
Custom routes - option 2
In config/backpack/base.php you'll find these configuration options:
    /*
    |--------------------------------------------------------------------------
    | Routing
    |--------------------------------------------------------------------------
    */

    // The prefix used in all base routes (the 'admin' in admin/dashboard)
    'route_prefix' => 'admin',

    // Set this to false if you would like to use your own AuthController and PasswordController
    // (you then need to setup your auth routes manually in your routes.php file)
    'setup_auth_routes' => true,

    // Set this to false if you would like to skip adding the dashboard routes
    // (you then need to overwrite the login route on your AuthController)
    'setup_dashboard_routes' => true,
In order to completely customize the auth routes, you can change both setup_auth_routes and setup_dashboard_routes to false. This means Backpack\Base won't register any routes any more, so you'll have to manually register them in your route file. Here's what you can use to get started:
Route::group(['middleware' => 'web', 'prefix' => config('backpack.base.route_prefix'), 'namespace' => 'Backpack\Base\app\Http\Controllers'], function () {
    Route::auth();
    Route::get('logout', 'Auth\LoginController@logout');
    Route::get('dashboard', 'AdminController@dashboard');
    Route::get('/', 'AdminController@redirect');
});
Use separate login/register forms for users and admins
This is a default in Backpack v4.
Backpack's authentication uses a completely separate authentication driver, provider, guard and password broker. They're all named backpack, and registered in the vendor folder, invisible to you.
If you need a separate login for user, just go ahead and create it. Add the Laravel authentication, like instructed in the Laravel documentation: php artisan make:auth. You'll then have:
- the user login at
/login-> using the AuthenticationController Laravel provides - the admin login at
/admin/login-> using the AuthenticationControllers Backpack provides
The user login will be using Laravel's default authentication driver, provider, guard and password broker, from config/auth.php.
Backpack's authentication driver, provider, guard and password broker can easily be overwritten by creating a driver/provider/guard/broker with the backpack name inside your config/auth.php. If one named backpack exists there, Backpack will use that instead.
Overwrite Backpack authentication driver, provider, guard or password broker
Backpack's authentication uses a completely separate authentication driver, provider, guard and password broker. Backpack adds them to what's defined in config/auth.php on runtime, and they're all named backpack.
To change a setting in how Backpack's driver/provider/guard or password broker works, create a driver/provider/guard/broker with the backpack name inside your config/auth.php. If one named backpack exists there, Backpack will use that instead.
Use separate sessions for admin&user authentication
This is a default in Backpack v4.
Login with username instead of email
- Create a
usernamecolumn in your users table and add it in$fillableon yourUsermodel. Best to do this with a migration. - Remove the UNIQUE and NOT NULL constraints from
emailon your table. Best to do this with a migration. Alternatively, delete youremailcolumn and remove it from$fillableon yourUsermodel. If you already have a CRUD for users, you might also need to delete it from the Request, and from your UserCrudController. - Change your
config/backpack/base.phpconfig options:// Username column for authentication // The Backpack default is the same as the Laravel default (email) // If you need to switch to username, you also need to create that column in your db 'authentication_column' => 'username', 'authentication_column_name' => 'Username',That's it. This will:
- use
usernamefor login; - use
usernamefor registration; - use
usernamein My Account, when a user wants to change his info; - completely disable the password recovery (if you've deleted the
emaildb column);
Use your own User model instead of App\User
By default, authentication and everything else inside Backpack is done using the App\User model. If you change the location of App\User, or want to use a different User model for whatever other reason, you can do so by changing user_model_fqn in config/backpack/base.php to your new class.
Use your own profile image (avatar)
By default, Backpack will use Gravatar to show the profile image for the currently logged in backpack user. In order to change this, you can use the option in config/backpack/base.php:
// What kind of avatar will you like to show to the user?
// Default: gravatar (automatically use the gravatar for his email)
//
// Other options:
// - placehold (generic image with his first letter)
// - example_method_name (specify the method on the User model that returns the URL)
'avatar_type' => 'gravatar',
Please note that this does not allow the user to change his profile image.
Add one or more fields to the Register form
To add a new field to the Registration page, you should:
Step 1. Overwrite the registration route, so it leads to your controller, instead of the one in the package. We recommend you add it your routes/backpack/custom.php, BEFORE the route group where you define your CRUDs:
Route::get('admin/register', 'App\Http\Controllers\Admin\Auth\RegisterController')->name('backpack.auth.register');Step 2. Create the new RegisterController somewhere in your project, that extends the RegisterController in the package, and overwrites the validation & user creation methods. For example:
<?php
namespace App\Http\Controllers\Admin\Auth;

use Backpack\CRUD\app\Http\Controllers\Auth\RegisterController as BackpackRegisterController;

class RegisterController extends BackpackRegisterController
{
    /**
     * Get a validator for an incoming registration request.
     *
     * @param array $data
     *
     * @return \Illuminate\Contracts\Validation\Validator
     */
    protected function validator(array $data)
    {
        $user_model_fqn = config('backpack.base.user_model_fqn');
        $user = new $user_model_fqn();
        $users_table = $user->getTable();
        $email_validation = backpack_authentication_column() == 'email' ? 'email|' : '';

        return Validator::make($data, [
            'name'                             => 'required|max:255',
            backpack_authentication_column()   => 'required|'.$email_validation.'max:255|unique:'.$users_table,
            'password'                         => 'required|min:6|confirmed',
        ]);
    }

    /**
     * Create a new user instance after a valid registration.
     *
     * @param array $data
     *
     * @return User
     */
    protected function create(array $data)
    {
        $user_model_fqn = config('backpack.base.user_model_fqn');
        $user = new $user_model_fqn();

        return $user->create([
            'name'                             => $data['name'],
            backpack_authentication_column()   => $data[backpack_authentication_column()],
            'password'                         => bcrypt($data['password']),
        ]);
    }
}
Add whatever validation rules & inputs you want, in addition to name and password.
Step 3. Add the actual inputs to your HTML. You can easily overwrite the register view by adding this method to the same RegisterController:
    public function showRegistrationForm()
    {

        return backpack_view('auth.register');
    }
This will make the registration process pick up a view you can create, in resources/views/vendor/backpack/base/auth/register.blade.php. You can copy-paste the original view, and modify as you please. Including adding your own custom inputs.