If you can run Laravel 5.6, you can install Backpack. Backpack does not have additional requirements. For the following process, we assume:
you have a working installation of Laravel 5.7 or 5.6 (an existing project is fine, you don't need a fresh Laravel install);
you have put your database and email credentials in your .ENV file;
you can run the composer command from any directory (you have composer registered as a global command); if you need to run php composer.phar or reference another directory, please remember to adapt the commands below to your configuration;
cd your-laravel-project-namecomposer require backpack/crudphp artisan backpack:base:install
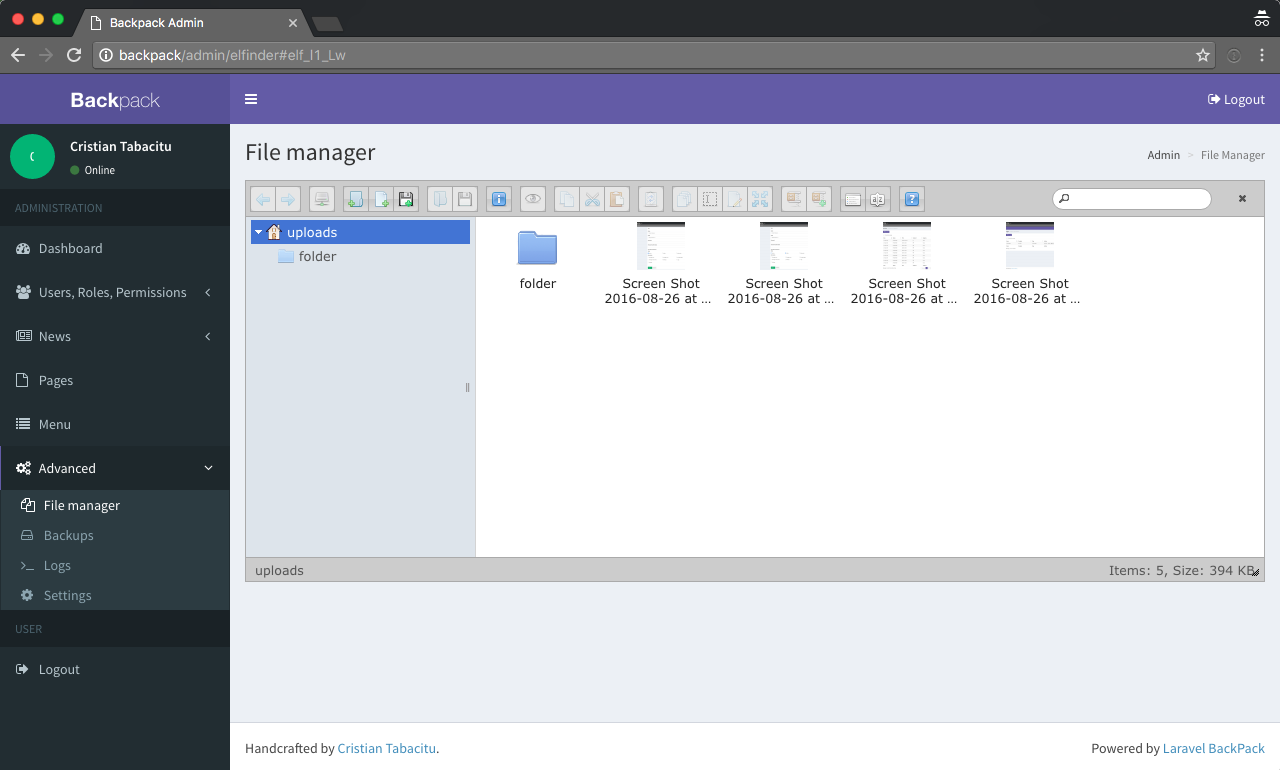
php artisan backpack:crud:installNote: If you'd also like to enable the file manager functionality, reply "yes" when the installer asks you. By default it lets users manage the public/uploads directory, but you can change that in the elfinder.php config file. Most of the times it is not recommended to give your admins power over file structure - not even their uploads alone. So elfinder does not come installed by default.
config/backpack/base.php to make the admin panel your own. Backpack is white label, so you can change everything: menu color, project name, developer name etc.App\User.php, please go change App\Models\BackpackUser.php and make sure it extends the correct user model;app/Http/Middleware/CheckIfAdmin.php, particularly checkIfUserIsAdmin($user), to make sure all users who get log into the admin panel have a right to do that; # OPTIONAL! Please read the notice above.
rm -rf app/Http/Controllers/Auth #deletes laravel's demo auth controllersThat's it. If you already know how to use Backpack, next up you'll probably want to create CRUD Panels.
If it's your first time installing Backpack, it is highly recommended that you go through our Getting Started series, to understand how Backpack works. That's why we created it - to help you learn how to use this admin panel framework. In ~23 minutes we'll teach you 80% of what you can do, and how.
In case you want to add extra functionality that's already been built, check out the installation steps for the add-ons we've developed.
Error: The process X exceeded the timeout of 60 seconds. It might mean Github or Packagist is unavailable at the moment. This usually doesn't last for more than a few minutes, so you can run php artisan backpack:base:install --timeout=600 to increase the timeout to 10 minutes. If this doesn't work either, take a look behind the scenes with php artisan backpack:base:install --timeout=600 --debug, and refer to this thread.
Error: SQLSTATE[42000]: Syntax error or access violation: 1071 Specified key was too long. Your MySQL version might be a bit old. Please apply this quick fix, then run php artisan migrate:fresh.
Any other installation error? If you can't install Backpack\Base because of a different error, you can try the manual installation process, which you can tweak to your needs.
Then you'll love our premium add-ons - productivity tools and tons of new features.