How To for Backpack\CRUD
In addition the usual CRUD functionality, Backpack also allows you to do a few more complicated things:
Customize Views for each CRUD Panel
Backpack loads its views through a double-fallback mechanism:
- by default, it will load the views in the vendor folder (the package views);
- if you've included views with the exact same name in your
resources/views/vendor/backpack/crudfolder, it will pick up those instead; you can use this method to overwrite a blade file for all CRUDs; - alternatively, if you only want to change a blade file for one CRUD, you can use the methods below in your
setup()method, to change a particular view:$this->crud->setShowView('your-view'); $this->crud->setEditView('your-view'); $this->crud->setCreateView('your-view'); $this->crud->setListView('your-view'); $this->crud->setReorderView('your-view'); $this->crud->setRevisionsView('your-view'); $this->crud->setRevisionsTimelineView('your-view'); $this->crud->setDetailsRowView('your-view');
Customize CSS and JS for Default CRUD Operations
Each default Backpack operation has its own CSS and JS file, in:
public/vendor/backpack/crud/csspublic/vendor/backpack/crud/js
If you don't find one there, you can create one, and Backpack will pick it up in that operation's view (ex: create.css or list.js).
Add Extra CRUD Routes
Starting with Backpack\CRUD 3.2, you can use the with() method on CRUD::resource to better organize your routes. Something like this:
CRUD::resource('teams', 'Admin\TeamCrudController')->with(function(){
    // add extra routes to this resource
    Route::get('teams/ajax-name-options', 'Admin\TeamCrudController@nameOptions');
    Route::get('teams/ajax-category-options', 'Admin\TeamCrudController@categoryOptions');
});
Publish a column / field / filter / button and modify it
All Backpack packages allow you to easily overwrite and customize the views. If you want Backpack to pick up your file, instead of the one in the package, you can do that by just placing a file with the same name in your views. So if you want to overwrite the select2 field (vendor/backpack/crud/src/resources/views/fields/select2.blade.php) to change some functionality, you need to create resources/views/vendor/backpack/crud/fields/select2.blade.php. You can do that manually, or use this command:
php artisan backpack:crud:publish fields/select2This will look for the blade file and copy it inside the folder, so you can edit it.
Please note: Once you place a file with the same name inside your project, Backpack will pick that one up instead of the one in the package. That means that even though the file in the package is updated, you won't be getting those updates, since you're not using that file. Blade modifications are almost never breaking changes, but it's a good thing to receive updates with zero effort. Even small ones. So please overwrite the files as little as possible. Best to create your own custom fields/column/filters/buttons, whenever you can.
Filter the options in a select field
This also applies to: select2, select2_multiple, select2_from_ajax, select2_from_ajax_multiple.
There are 3 possible solutions:
- If there will be few options (dozens), the easiest way would be to use
select_from_arrayorselect2_from_arrayinstead. Since you tell it what the options are, you can do any filtering you want there. - If there are a lot of options (100+), best to use
select2_from_ajaxinstead. You'll be able to filter the results any way you want in the controller method (the one that responds with the results to the AJAX call). - If you can't use
select2_from_arrayforselect2_from_ajax, you can create another model and add a global scope to it. For example, say you only want to show the users that belong to the user's company. You can createApp\Models\CompanyUserand use that in yourselect2field instead ofApp\Models\User:
<?php

namespace App\Models;

use App\User;
use Auth;
use Illuminate\Database\Eloquent\Model;
use Illuminate\Database\Eloquent\Builder;

class CompanyUser extends User
{
    /**
     * The "booting" method of the model.
     *
     * @return void
     */
    protected static function boot()
    {
        parent::boot();

        // never let a company user see the users of other companies
        if (Auth::check() && Auth::user()->company_id) {
            $companyId = Auth::user()->company->id;

            static::addGlobalScope('company_id', function (Builder $builder) use ($companyId) {
                $builder->where('company_id', $companyId);
            });
        }
    }
}
Use the same column name multiple times in a CRUD
If you try to add multiple columns with the same name, by default Backpack will only show the last one. That's because name is also used as a key in the $column array. So when you addColumn() with the same name twice, it just overwrites the previous one.
In order to insert two columns with the same name, use the key attribute on the second column (or both columns). If this attribute is present for a column, Backpack will use key instead of name. Example:
$this->crud->addColumn([
'label' => "Location",
'type' => 'select',
'name' => 'location_id',
'entity' => 'location',
'attribute' => 'title',
'model' => "App\Models\Location"
]);
$this->crud->addColumn([
'label' => "Location Type",
'type' => 'radio_location_type',
'options' => [
1 => "Country",
2 => "Region"
],
'name' => 'location_id',
+ 'key' => 'location_type',
'entity' => 'location',
'attribute' => 'type',
'model' => "App\Models\Location"
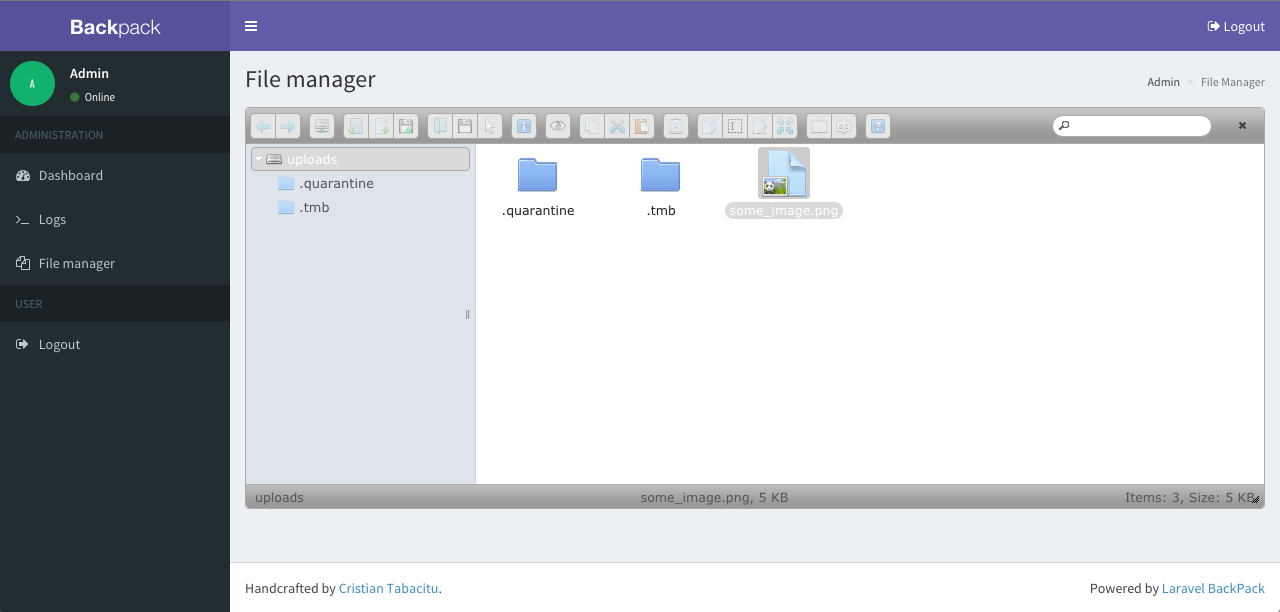
]);Use the Media Library (File Manager)
If you've chosen to install elFinder when installing Backpack, you already have a media manager. And it's integrated into:
- TinyMCE (as "tinymce" fieldtype)
- CKEditor (as "ckeditor" fieldtype)
- CRUD "browse" fieldtype
- standalone, at the your-project/admin/elfinder route;
For the integration, barryvdh's laravel-elfinder package is used.
Manually install Backpack/CRUD
If the automatic installation doesn't work for you and you need to manually install CRUD, here are all the commands it is running:
- In your terminal:
composer require backpack/crud-
If you'd also like a file manager, run:
composer require barryvdh/laravel-elfinder mkdir -p public/uploads php artisan elfinder:publish php artisan vendor:publish --provider="Backpack\CRUD\CrudServiceProvider" --tag="elfinder" php artisan backpack:base:add-sidebar-content '<li><a href=\"{{ backpack_url(\"elfinder\") }}\"><i class=\"fa fa-files-o\"></i> <span>File manager</span></a></li>' -
Actually install CRUD:
php artisan vendor:publish --provider="Backpack\CRUD\CrudServiceProvider" --tag="public"
php artisan vendor:publish --provider="Backpack\CRUD\CrudServiceProvider" --tag="lang"
php artisan vendor:publish --provider="Backpack\CRUD\CrudServiceProvider" --tag="config"
Load fields from a different folder
If you're developing a package, you might need Backpack to pick up fields from your package folder, instead of having to publish them upon installation.
Fields, Columns and Filters all have a view_namespace parameter you can use. Type your folder there, and Backpack will check that folder first, then where the views are published, then Backpack's package folder. Example:
$this->crud->addFilter([ // add a "simple" filter called Draft
          'type'  => 'complex',
          'name'  => 'checkbox',
          'label' => 'Checked',
          'view_namespace' => 'custom_filters'
        ],
        false, // the simple filter has no values, just the "Draft" label specified above
        function () { // if the filter is active (the GET parameter "draft" exits)
            $this->crud->addClause('where', 'checkbox', '1');
        });
This will make Backpack look for the resources/views/custom_filters/complex.blade.php, and pick that up before anything else.
Add a select2 field that depends on another field
The select2_from_ajax and select2_from_ajax_multiple fields allow you to filter the results of a select2, depending on what has already been selected in a form. Say you have to select2 fields. When the AJAX call is made to the second field, all other variables in the page also get passed - that means you can filter the results of the second select2.
Say you want to show two selects:
- the first one shows Categories
- the second one shows Articles, but only from the category above
- In you CrudController you would do:
        $this->crud->addField([    // SELECT2
            'label'         => 'Category',
            'type'          => 'select',
            'name'          => 'category',
            'entity'        => 'category',
            'attribute'     => 'name',
        ]);

        $this->crud->addField([ // select2_from_ajax: 1-n relationship
            'label'                => "Article", // Table column heading
            'type'                 => 'select2_from_ajax_multiple',
            'name'                 => 'articles', // the column that contains the ID of that connected entity;
            'entity'               => 'article', // the method that defines the relationship in your Model
            'attribute'            => 'title', // foreign key attribute that is shown to user
            'data_source'          => url('api/article'), // url to controller search function (with /{id} should return model)
            'placeholder'          => 'Select an article', // placeholder for the select
            'minimum_input_length' => 0, // minimum characters to type before querying results
            'dependencies'         => ['category'], // when a dependency changes, this select2 is reset to null
            // 'method'                    => 'GET', // optional - HTTP method to use for the AJAX call (GET, POST)
        ]);
DIFFERENT HERE: minimum_input_length and dependencies.
- That second select points to routes that need to be registered:
Route::get('api/article', 'App\Http\Controllers\Api\ArticleController@index');
Route::get('api/article/{id}', 'App\Http\Controllers\Api\ArticleController@show');
DIFFERENT HERE: Nothing.
- Then that controller would look something like this:
<?php

namespace App\Http\Controllers\Api;

use App\Http\Controllers\Controller;
use Backpack\NewsCRUD\app\Models\Article;
use Illuminate\Http\Request;

class ArticleController extends Controller
{
    public function index(Request $request)
    {
        $search_term = $request->input('q');
        $form = collect($request->input('form'))->pluck('value', 'name');

        $options = Article::query();

        // if no category has been selected, show no options
        if (! $form['category']) {
            return [];
        }

        // if a category has been selected, only show articles in that category
        if ($form['category']) {
            $options = $options->where('category_id', $form['category']);
        }

        if ($search_term) {
            $results = $options->where('title', 'LIKE', '%'.$search_term.'%')->paginate(10);
        } else {
            $results = $options->paginate(10);
        }

        return $options->paginate(10);
    }

    public function show($id)
    {
        return Article::find($id);
    }
}
DIFFERENT HERE: We use $form to determine what other variables have been selected in the form, and modify the result accordingly.
Change the content class for an operation
If you want to make the contents of an operation take more / less space from the window, you can do that:
(A) for all CRUDs by specifying the custom content class in your config/backpack/crud.php:
    // Here you may override the css-classes for the content section of the create view globally
    // To override per view use $this->crud->setCreateContentClass('class-string')
    'create_content_class' => 'col-md-8 col-md-offset-2',

    // Here you may override the css-classes for the content section of the edit view globally
    // To override per view use $this->crud->setEditContentClass('class-string')
    'edit_content_class'   => 'col-md-8 col-md-offset-2',

    // Here you may override the css-classes for the content section of the revisions timeline view globally
    // To override per view use $this->crud->setRevisionsTimelineContentClass('class-string')
    'revisions_timeline_content_class'   => 'col-md-10 col-md-offset-1',

    // Here you may override the css-class for the content section of the list view globally
    // To override per view use $this->crud->setListContentClass('class-string')
    'list_content_class' => 'col-md-12',

    // Here you may override the css-classes for the content section of the show view globally
    // To override per view use $this->crud->setShowContentClass('class-string')
    'show_content_class'   => 'col-md-8 col-md-offset-2',

    // Here you may override the css-classes for the content section of the reorder view globally
    // To override per view use $this->crud->setReorderContentClass('class-string')
    'reorder_content_class'   => 'col-md-8 col-md-offset-2',
(B) for a single CRUD, by using:
$this->crud->setCreateContentClass('col-md-8 col-md-offset-2');
$this->crud->setUpdateContentClass('col-md-8 col-md-offset-2');
$this->crud->setListContentClass('col-md-8 col-md-offset-2');
$this->crud->setShowContentClass('col-md-8 col-md-offset-2');
$this->crud->setReorderContentClass('col-md-8 col-md-offset-2');
$this->crud->setRevisionsTimelineContentClass('col-md-8 col-md-offset-2');