How to configure User Access Control and Permissions in 10 minutes
Hey folks! So, picture this: you're crafting your admin panel and the need for proper access control hits you. Admin panels without rol...
Karan Datwani
Share:
Hey folks! So, picture this: you're crafting your admin panel and the need for proper access control hits you. Admin panels without rol...
Hey folks! So, picture this: you're crafting your admin panel and the need for proper access control hits you.
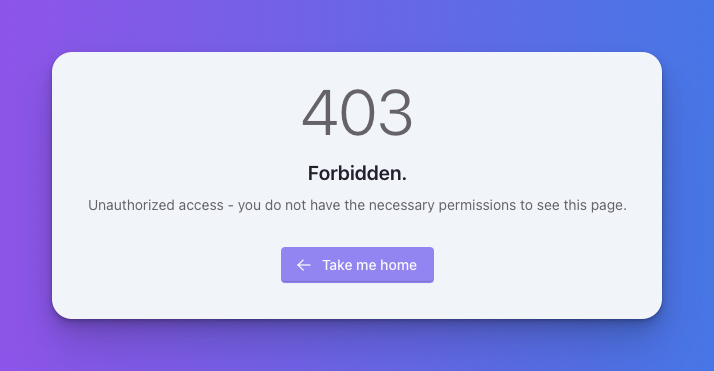
Admin panels without roles and permissions are like a party without bouncers – chaos waiting to happen. It's like giving everyone backstage access and waiting for disaster. We should return HTTP status code 403 to such unauthorized access events:
In this article, we'll learn to keep things organized, secure and ensure the right people have the right keys using Roles & permissions.
To kick things off, I've equipped the Backpack project with the PermissionManager Addon.
composer require backpack/permissionmanagerBoom! Your user model is now flexing some access control muscles:
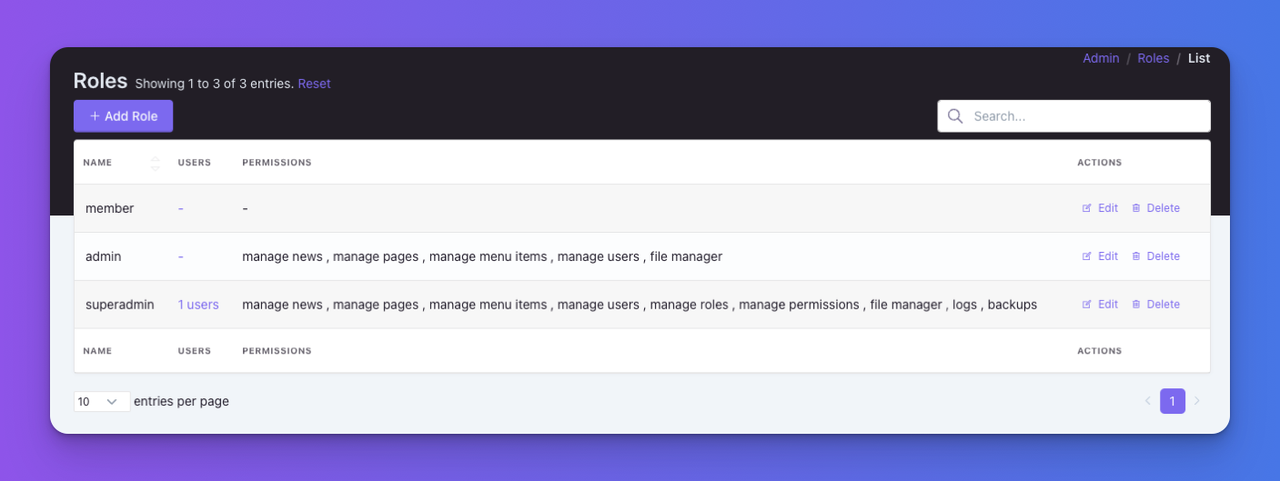
When crafting roles and permissions, start by identifying distinct user responsibilities. Define them using Roles & Permissions CRUD:
For instance, distinguish between Admins and Editors. Create permissions for each role(examples: manage articles, manage tags). Admin role holders can swagger through CRUD operations while Editors only have access to:
Article CRUD and can perform actions like delete and edit on their posts only;Tags OR Category CRUD;Remember, clarity is key! - Be granular and avoid unnecessary complexity.
To secure our admin panel, we need a bouncer at the gate. In our case, routes are the gates to our application and backpack_middleware() is the bouncer. In routes/backpack/custom.php, fortify your routes with backpack middleware:
Route::group([
    'prefix'     => config('backpack.base.route_prefix', 'admin'),
    'middleware' => ['web', backpack_middleware()],
    'namespace'  => 'App\Http\Controllers\Admin',
], function () {
    // admin routes
    Route::crud('article', 'ArticleCrudController');
    Route::crud('category', 'CategoryCrudController');
    Route::crud('tag', 'TagCrudController');
});
We have placed a bouncer and he needs to know the rules to allow & deny user access, right?
Each backpack operation comes with a simple access system. It works using an array $crud->settings['operation_name']['access'] which can either be true or false. All operations by default run CRUD::allowAccess('operation_name'); which toggle that variable to true.
You can add or remove elements to this access array in your setup() method using CRUD::denyAccess() & CRUD::allowAccess().
The following code is good enough to check the current user's permission (manage articles) and restrict access to its list, show, create, update and delete operations of Article CRUD:
use Backpack\CRUD\app\Library\CrudPanel\CrudPanelFacade as CRUD;

class ArticleCrudController extends CrudController
{

    public function setup(){
        // check permissions first
        if(!backpack_user()->can('manage articles')){
	    // deny access to operations
            CRUD::denyAccess(['list','show','create','update','delete']);
        }

        /**
        ... rest of the code...
        **/
    }
}
To restrict per entry basis, I would add the following to it:
CRUD::operation(['list','update','delete'], function() {
    CRUD::setAccessCondition(['update', 'delete'], function ($entry) {
        return $entry->author_id === backpack_user()->id ? true : false;
    });
});
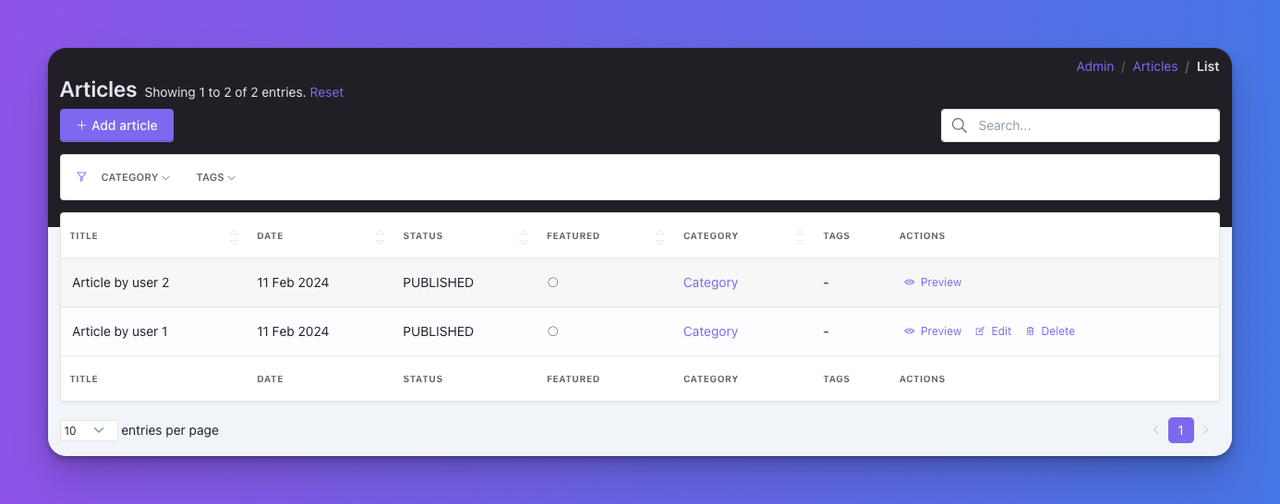
This will remove edit & delete buttons and restrict the form URLs for the posts which are not created by the currently logged-in user:
I find it cool, that small snippets take care of every single entry gate!
We also need to hide items from the menu. Admins should see only those menu items whose access they have. The following is a simple example of doing it using permissions:
// resources/views/vendor/backpack/ui/inc/menu_items.blade.php
@if(backpack_user()->can('manage articles'))
    <x-backpack::menu-item title="Articles" icon="la la-newspaper-o" :link="backpack_url('article')" />
@endif

@if(backpack_user()->can('manage categories'))
    <x-backpack::menu-item title="Categories" icon="la la-list" :link="backpack_url('category')" />
@endif

@if(backpack_user()->can('manage tags'))
    <x-backpack::menu-item title="Tags" icon="la la-tag" :link="backpack_url('tag')" />
@endif
To set access control for your custom operation trait, use the following steps:
CRUD::allowAccess('publish');@if ($crud->hasAccess('publish', $entry)) in the blade file;CRUD::hasAccessOrFail('publish');For example:
protected function setupPublishDefaults()
{
    $this->crud->allowAccess('publish');

    // Set operation defaults
}

public function publish()
{
    CRUD::hasAccessOrFail('publish');

    // Custom operation logic
}
Other than CRUD operations, you may have other admin panel routes to protect.
Here, we would use Spatie's permission middleware. We can use it like can:list secrets:
Route::group([
    'prefix'     => config('backpack.base.route_prefix', 'admin'),
+  'middleware' => ['web','can:list secrets', backpack_middleware()],
], function () {
    Route::get('secrets', 'SecretController@list');
});
Huuhoo! We restricted access to a custom route too!
@role, @canDirective like @can, @role uses default laravel authentication guard. You can have two scenarios here:
config.auth.defaults.guard to backpack. In this case, make sure your roles and permissios are using the backpack guard in the database.config.backpack.base.guard to null so backpack will also use the web guard. In this case, make sure web is the guard in the database for permissions and roles.Depending on your project needs, one of the configuration could be the best to apply.
There you have it! Your admin panel is now a secure fortress. I hope you find this article an easy learn to implement access control on your admin panel.
When you need a quick fix, consult the following cheat codes:
// allow or deny access
CRUD::allowAccess(['list', 'create', 'delete']);
CRUD::denyAccess(['list', 'create', 'delete']);
CRUD::denyAllAccess();

// check access
CRUD::hasAccess('add'); // returns true/false
CRUD::hasAccess('add',$entry); // returns true/false
CRUD::hasAccessOrFail('add'); // throws 403 error
CRUD::hasAccessToAll(['create', 'update']); // returns true/false
CRUD::hasAccessToAny(['create', 'update']); // returns true/false

// allow or deny access depending on the entry
CRUD::operation(['list','update','delete'], function() {
        CRUD::setAccessCondition(['update', 'delete'], function ($entry) {
            return $entry->id===1 ? true : false;
    });
});
For more advanced features, head over to the PermissionManager or Spatie's package docs.
Happy coding! 🚀
Subscribe to our "Article Digest". We'll send you a list of the new articles, every week, month or quarter - your choice.
What do you think about this?
Wondering what our community has been up to?