Setup GraphQL in Laravel using Lighthouse
So, you're eager to level up your API game with GraphQL for Laravel? Awesome! In this article, i'm going to help you set up a GraphQL...
So, you're eager to level up your API game with GraphQL for Laravel? Awesome! In this article, i'm going to help you set up a GraphQL...

So, you're eager to level up your API game with GraphQL for Laravel? Awesome! In this article, i'm going to help you set up a GraphQL server using Lighthouse. If you aren't very familiar with GraphQL, i recommend our previous article, about How GraphQL is better than REST APIs.
Before i jump into the Laravel setup, here are some quick GraphQL terms you might want to get familiar with:
Now, let's talk about Lighthouse! 🦸♂️ It makes GraphQL server set up super easy for the Laravel projects. It lets us quickly set up schema, directives, query, mutation, subscriptions, everything! So you can focus on coding fantastic features, not boilerplate.
Step 1: Install Lighthouse:
composer require nuwave/lighthouse
Step 2: Publish the default schema:
php artisan vendor:publish --tag=lighthouse-schema
Step 3: Publish the config file:
php artisan vendor:publish --tag=lighthouse-config
# will publish to config/lighthouse.php
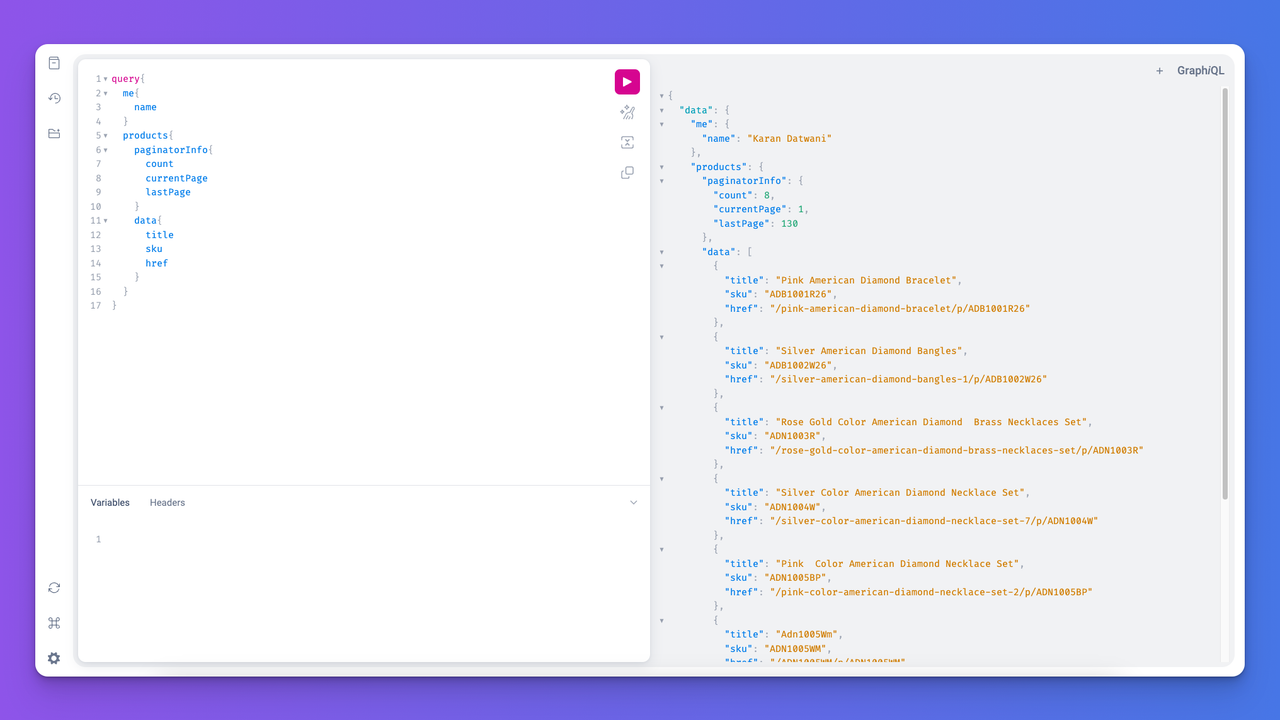
If GraphQL had a best friend, it would be GraphiQL. It's an in-browser tool that lets you write and test your GraphQL queries to make our development smoother. It's like Postman but tailored for GraphQL. With its auto-complete feature and real-time error highlighting, it's a must-have in your GraphQL toolkit.

Let's spice things up with a GUI, shall we? Check out this wonderful package:
composer require mll-lab/laravel-graphiql
php artisan vendor:publish --tag=graphiql-config
Let's consider a simple blog application with Users and Posts for this tutorial. To quicly set an example:
User and Post models and defined following relationships between them://app/Models/User.php
public function posts(){
return $this->hasMany(Post::class);
}
//app/Models/Post.php
public function user(){
    return $this->belongsTo(User::class);
}
Need your attention here: This example will also cover authentication. I've used Laravel Sanctum for authentication. Under Sanctum, i prefered "Stateful" authentication for APIs. It works in the same old way using session & cookies, without taking hassle of storing & securing access_tokens on web browsers.🤝
For this:
config/lighthouse.php to make sanctum work for lighthouse too. You can find them here;APP_URL perfectly with the port no and address. Example:APP_URL=http://localhost:8000;Done! Enough with boring setup!
Define Schema: Define what can be retrieved or pushed: what data GraphQL APIs should expose, the Return types, how they’ll execute is defined in schema files.
You can find the default schema file at graphql/schema.graphql to code the schema:
#Define Return type & attributes
type User {
    id: ID!
    name: String!
    email: String!
    posts: [Post!] @hasMany
}

type Post {
    id: ID!
    title: String!
    content: String!
    user: User! @belongsTo
}

# Queries to fetch records
type Query {
    posts: [Post!] @paginate(defaultCount: 10)
    post(id: ID! @whereKey): Post @find

    me: User @auth
    user(id: ID! @whereKey): User @find
}

# Mutation to manipulate records
type Mutation {
    createPost(title: String!, content: String!): Post
    deletePost(id: ID! @whereKey): Post @delete
}
I tell you a surprise here, our GraphQL CRUD APIs are ready with the above snippet.
Notice, the above schema has directives like @paginate, @find, @auth,@delete which covered everything. No Controller, NO CODE required. Everything is already covered by Lighthouse😎.
In the above automation, i had a custom requirement too! I created a custom resolver for createPost mutation which creates posts under the authenticaed user:
//app/GraphQL/Mutations/CreatePost.php
namespace App\GraphQL\Mutations;

use App\Models\Post;
use Illuminate\Support\Facades\Auth;

class CreatePost
{
    public function __invoke($rootValue, array $args)
    {
        $user = Auth::user();

        $post = $user->posts()->create([
            'title' => $args['title'],
            'content' => $args['content'],
        ]);

        return $post;
    }
}
Here, the createPost mutation automatically invokes our custom resolver app/GraphQL/Mutations/CreatePost.php . By default, the lighthouse looks for resolvers in the studly case of your field name. They look in the registered namespace that is defined in your lighthouse’s config file.
Queries are where we define what data to fetch. In our graphql/schema.graphql, i added two example queries:
type Query {
  # Query to list all entries
  posts: [Post!] @paginate(defaultCount: 10)
  # Query to fetch a specific post by id
  post(id: ID!): Post @find
}
Here, we defined query posts which would return an array of 10 posts per page using pagination.
Let's fetch all posts with their author's name by sending following query using GraphiQL:
query{
  posts(page:1) {
    data {
      title
      content
      user {
        name
      }
    }
    paginatorInfo {
      count
      currentPage
      lastPage
    }
  }
}
And we'll get following json response:
{
  "data": {
    "posts": {
      "data": [
        {
          "title": "GraphQL 101",
          "content": "Introduction to GraphQL...",
          "user": {
            "name": "Karan"
          }
        },
        ...
      ],
     "paginatorInfo": {
         "count": 15,
         "currentPage": 1,
         "lastPage": 2
      }
    }
  }
}
Notice:
The query post(id: ID!): Post @find takes an input ID to find and return Post object.
Let's query a post using GraphiQL by sending:
query{
  post(id: 1) {
    title
    user{
      name
    }
  }
}
It returns asked attributes with a relationship, the user. No need for another request to get that!
Response:
{
  "data": {
    "post": {
      "title": "GraphQL 101",
      "user": {
        "name": "Karan"
      }
    }
  }
}
How to get authenticated user with his posts?
We created two queries to fetch user:
type Query {
  # query to authenticate user and return `User` object
  me: User @auth

  # query to find by id and return `User` object
  user(id: ID! @whereKey): User @find
}
The following would get you authenticaed user with his posts. The relation works because User type has an attribute posts: [Post!] @hasMany defined in the schema.
query{
  me {
    id
    name
    email
    posts {
      id
      title
      content
    }
  }
}
Response:
{
  "data": {
    "me": {
      "id": "1",
      "name": "Karan Datwani",
      "email": "[email protected]",
      "posts": [
        {
          "id": "3",
          "title": "New Post Title",
          "content": "This is the content of the new post."
        },
      ]
    }
  }
}
The last query in the schema user(id: ID! @whereKey): User @find allows to fetch user by id. You can try it by requesting:
query{
  user(id: 1) {
    id
    name
    email
    posts {
      id
      title
      content
    }
  }
}
Think of Mutations as functions you define in your Schema. You call them to modify data, eg. create a post or delete a post.
Create a post:
I needed a custom code while creating post. For that, i created a custom resolver CreatePost.php for this mutation createPost. No directives used here:
type Mutation {
  # Take title and content as input and return the Post object
  createPost(title: String!, content: String!): Post
}
Send the following request to above mutation to create a post:
mutation {
  createPost(title: "Laravel GraphQL Advanced", content: "Deep dive into GraphQL...") {
    id
    title
    content
  }
}
Response:
{
  "data": {
    "createPost": {
      "id": "7",
      "title": "Laravel GraphQL Advanced",
      "content": "Deep dive into GraphQL..."
    }
  }
}
If you have read this far, I'm sure delete doesn't need an explaination. You can call it with:
mutation {
  deletePost(id: 1) {
    id
  }
}
Yes, you can break your schema in multiple files & import them with a comment in the main schema. For example, add #import models/*.graphql into the main schema to import all other defined .graphql schema files from subfolder graphql/models.
Lighthouse offers a variety of directives to simplify your GraphQL server setup. Here's a list of some of the available them:
@create: Handles the creation of a new model instance.@update: Handles the update of an existing model instance.@delete: Handles the deletion of a model instance.@upsert: Handles the creation or update of a model instance based on provided conditions.@find: Retrieves a single model by its primary key.@all: Fetches a list of all model instances.@paginate: Returns a paginated list of model instances.@belongsToMany: Resolves a field as a connection to a many-to-many relation.@hasOne: Resolves a field as a connection to a one-to-one relation.@hasMany: Resolves a field as a connection to a one-to-many relation.@belongsTo: Resolves a field as a connection to an inverse one-to-one or many-to-one relation.@search: Adds full-text search capabilities to a field.@orderBy: Orders a list of results by one or multiple fields.@count: Returns the count of related models.@groupCount: Returns the count of related models, grouped by a certain field.@date: Parses and formats date fields.@rename: Renames a field in the schema.@guard: Protects routes by checking user authentication.@can: Checks user authorization using Laravel's built-in policies.@deprecated: Marks a field or type as deprecated.@broadcast: Broadcasts subscriptions through Laravel's broadcasting system.@rules: Applies validation rules to input values.@rulesApply: Applies validation rules to a list of input values.@trim: Trims string input.@spread: Spreads input values to the surrounding argument or field.@eq: Filters a model list by checking equality of a field.@neq: Filters a model list by checking non-equality of a field.@json: Handles JSON columns in a database.Find latest available directives here
Before we wrap up, let's take a brief moment to talk about Apollo Client. It's a library that helps to integrate Web/Android/IOS App with GraphQL endpoint. But, we'll dive deep into this topic in another article. So, stay tuned!
Congratulations, you've unlocked the power of GraphQL with Lighthouse! 🎉 Say goodbye to over-fetching and under-fetching data, and embrace the future of APIs. GraphQL is all about simplicity, flexibility, and performance. It's a perfect match for API developers.
So, the next time you're building APIs in Laravel, consider giving GraphQL a shot. Trust me, you won't look back! Happy coding! 😊
Subscribe to our "Article Digest". We'll send you a list of the new articles, every week, month or quarter - your choice.
What do you think about this?
Wondering what our community has been up to?